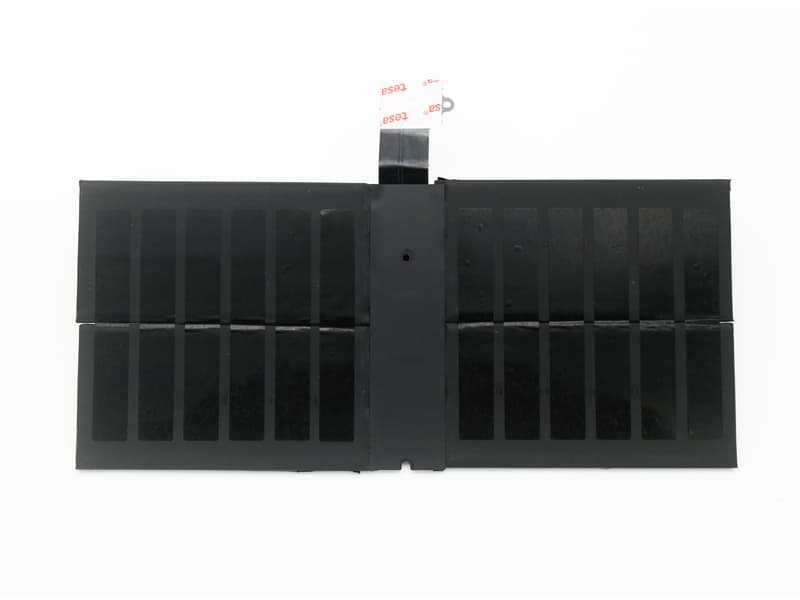
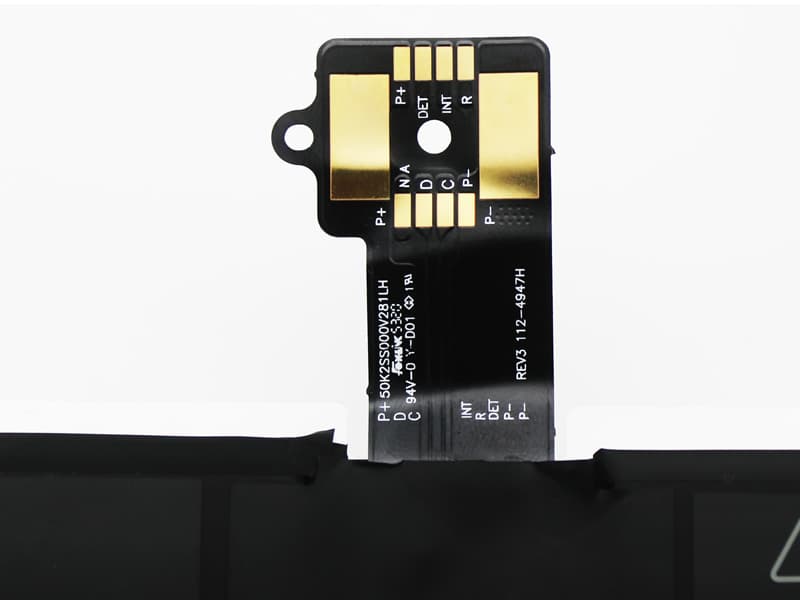
All of our WEILI 801855 high-quality alternatives have been tested to achieve and/or exceed original performance and are 100% compatible with the original manufacturer’s specifications. Battery Replacement for WEILI XK K130 drone, the Replacement Battery is 100% brand new and CE / FCC / RoHS certified for safety.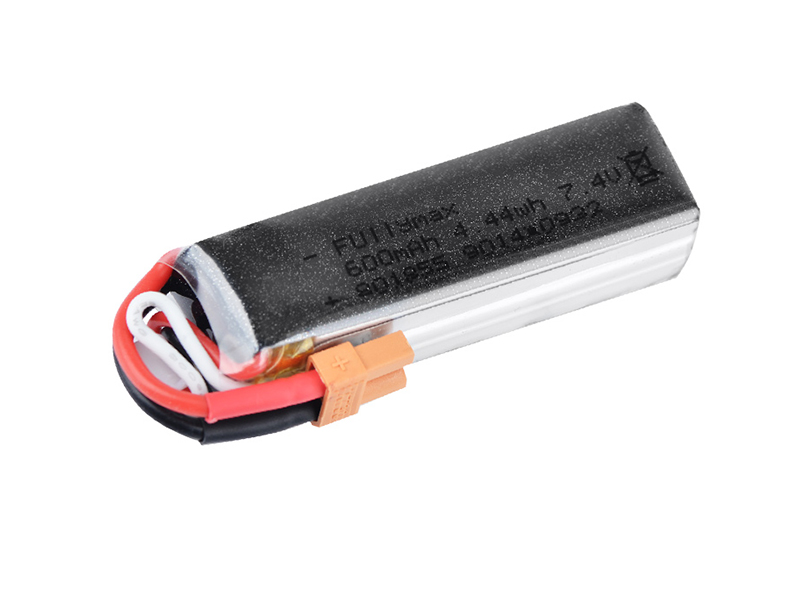
Brand New WEILI 801855 replacement battery for WEILI Devices & Electronics 600mAh/4.44WH 7.4V
SPECIFICATIONS:
Battery Compatibility Name: WEILI Compatible battery
Battery Application: Devices & Electronics
Chemical Materials: Li-Polymer
Rated Capacity: 600mAh/4.44WH
Standard Voltage: 7.4V
Part Numbers:
801855
Compatible Models:
For WEILI XK K130 drone


Other online shop for WEILI 801855
JP: WEILI 801855 バッテリー
FR: WEILI 801855 Batterie
ES: WEILI 801855 batería
IT: WEILI 801855 batteria
PL: WEILI 801855 Zgodna Bateria
US: WEILI 801855 battery
High standard WEILI 801855 Battery
Features of Our Rechargeable Battery for WEILI 801855 replacement battery:
1. Each Rechargeable Battery for WEILI 801855 replacement battery is made of high-quality lithium-ion battery, which is longer than the last time.
2. The battery is up to standard and fully compatible with original specifications.
3. All our batteries are certified by CE, UL, ROHS, ISO9001/9002 as safe products.
We specialize in providing high-quality batteries. The Rechargeable Battery for WEILI 801855 has passed tests according to Security Standards to ensure battery’s quality. The interface metal and solid insulators of the Rechargeable Battery for WEILI 801855 are made of Premium materials to ensure stable current input and durability. Round-sealed package ,faster delivery and thoughtful after-sales service will make you feel assured to purchase.