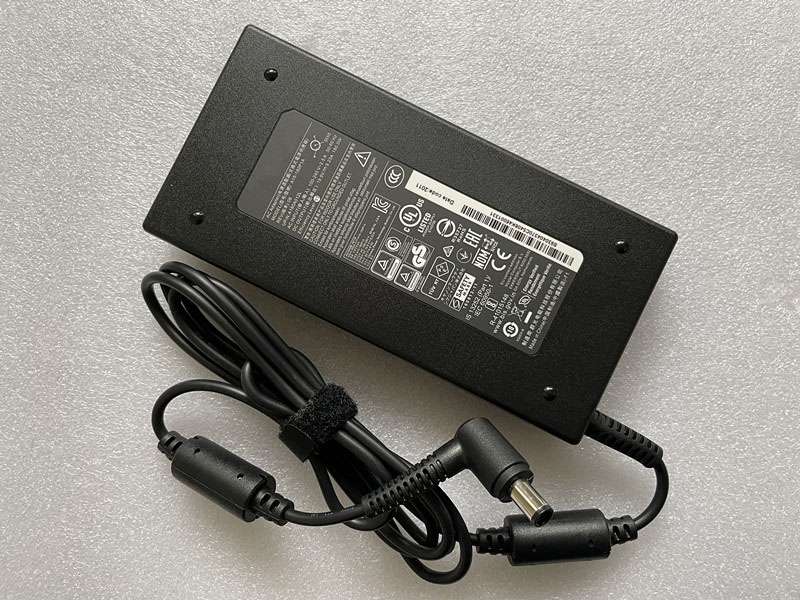
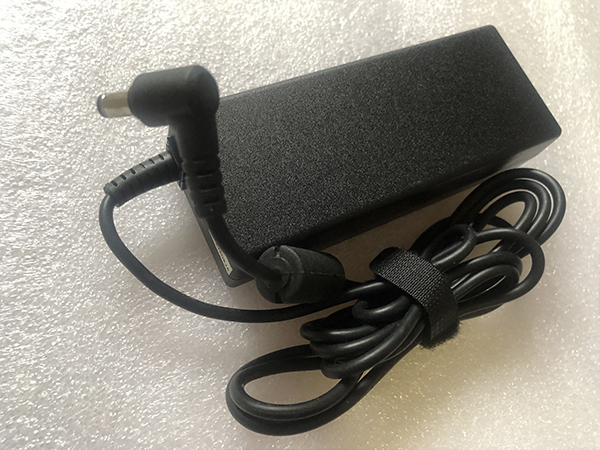
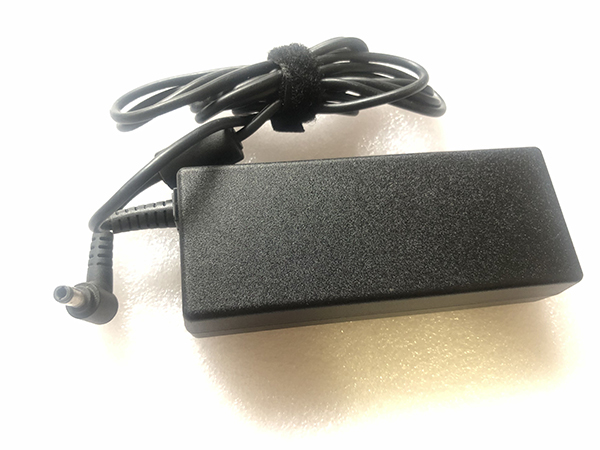
Cheap price replacement for a new AC charger type of Chicony MSI PS42 Modern 8RC-035MY Laptop, AC power adapter 19V~ 4.74A, 90W 90W for sale. UK online store for power supply buyers, reliable quality and fast shipping.
We will be your one-stop-shop for ASUS Notebook Charger. We make every effort to provide Replacement ASUS 90W Laptop AC Adapter. If you have lost or misplaced your ASUS Power Supply, then look no further for a replacement.
At our store, we have an enormous selection of ASUS Power Supply. You can be sure to find the Power supply for ASUS 90W Kit you need at low cost, Quick response and support.
All of the ASUS Notebook Charger you will find at our store are brand new and guaranteed to meet or exceed original Laptop AC Adapter specifications.
SPECIFICATIONS
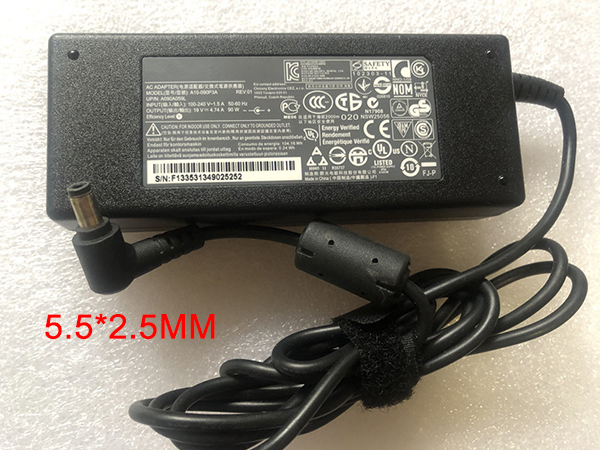
Input: 100-240V ~ 1.5A, 50 – 60Hz
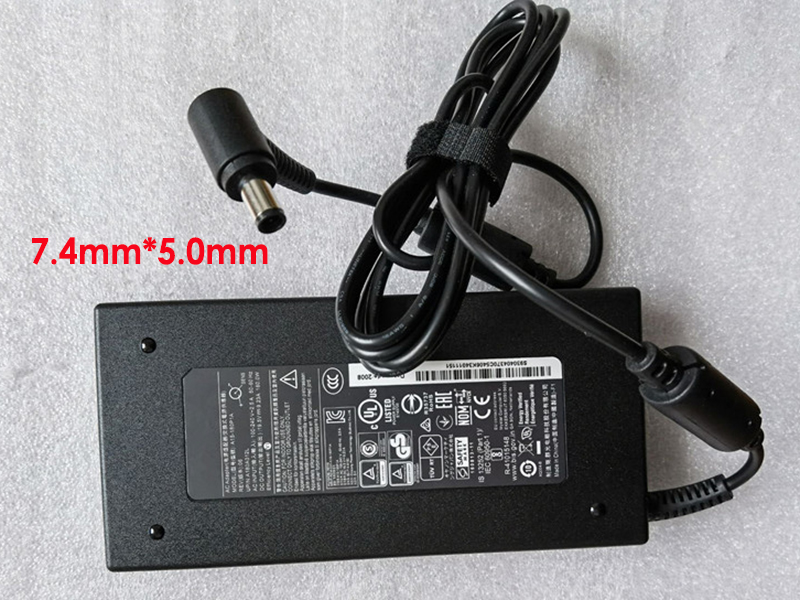
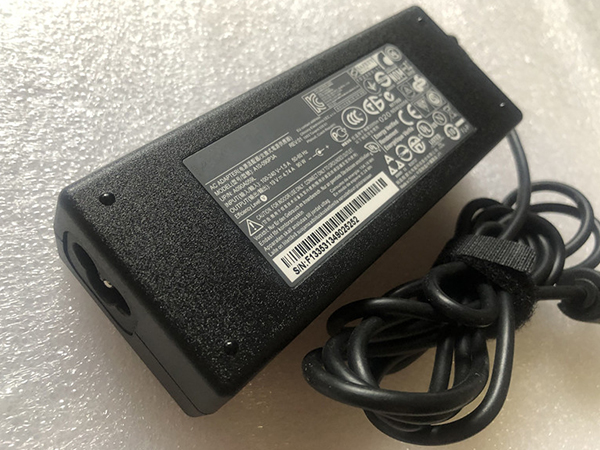
Output: 19V~ 4.74A, 90W
P/N
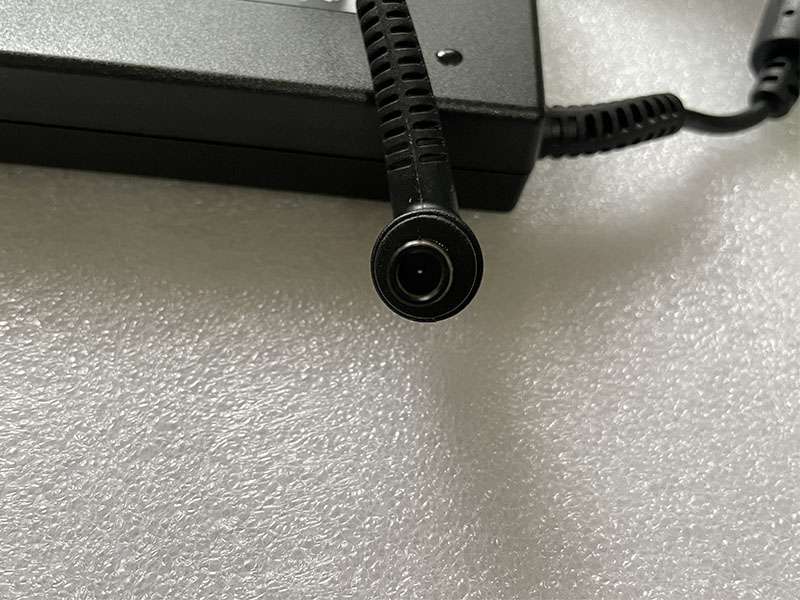
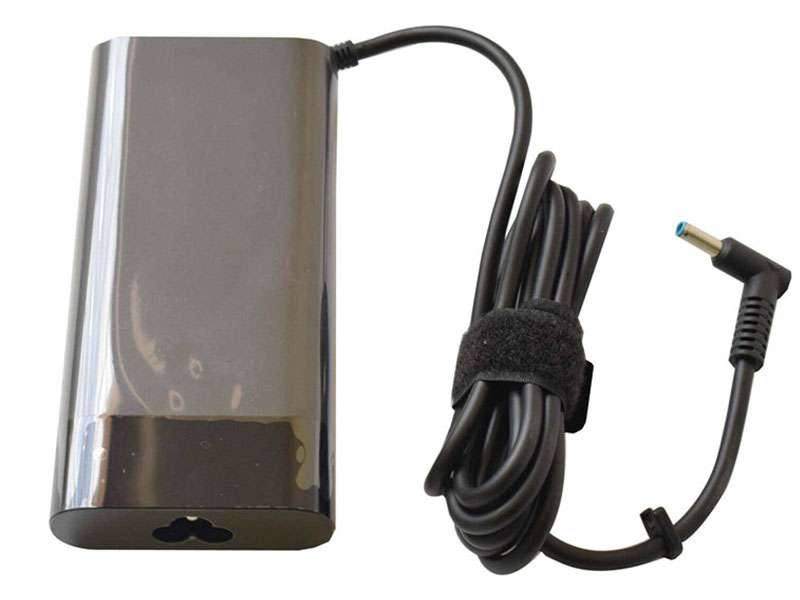
Connector: 5.5*2.5mm
Power Cord Cable: excellent quality (EU AU US UK optional)
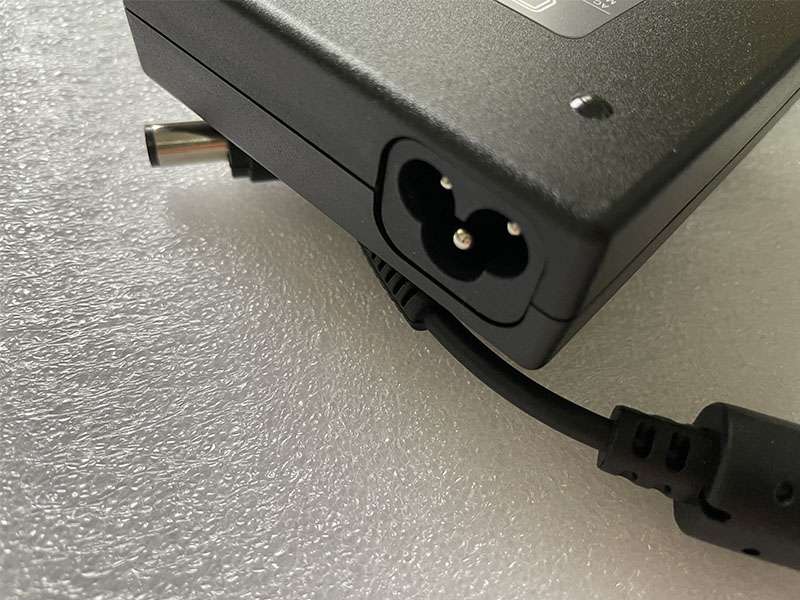
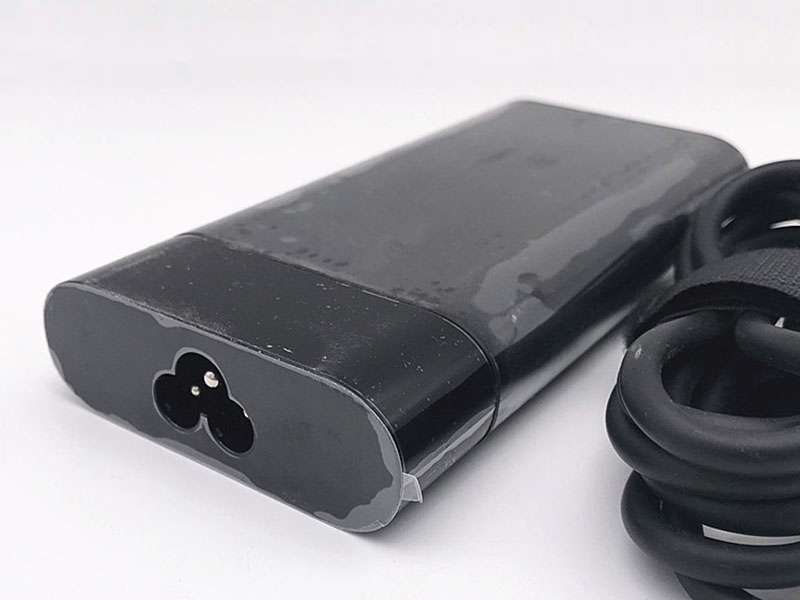
outlet: 3 prong
ADP-65DB_REV_B ADP-90FB ADP-90SB_BB PA3380U-1ACA PA-1900-24 90-N6EPW2000 90-N6EPW2010 PA-1900-36 90XB00CN-MPW010 EXA1202YH ADP-90YD_B N90W-03
Compatible Models
Notice: not all model listed
ASUS A-Series, K-Series, N-Series, F-Series, R-Series, X-Series, and V-Series
ASUS S300, S46, S400, S405, S500, S550, S551, S56, Q300, Q46, Q400, Q405, Q500, Q550, and Q551 Series
ASUS
A3 series: A3E, A3H, A3VP
A6 series: A6, A6000G, A6000Ga, A6000K, A6000L, A6000N, A6000Ne, A6000U, A6000V, A6000Va, A6000Vc, A65, A6G, A6Ga, A6K, A6L, A6N, A6Ne, A6U, A6V, A6Va, A6Vc
F3 series: F3Ka, F3Ke, F3L, F3Q, F3Sa, F3Sg, F3Sr
F5 series: F5C, F5GL, F5M, F5N, F5R, F5RI, F5SL, F5Sr, F5V, F5VL, F5Z
F7 series: F7E, F7F, F7Kr, F7L, F7Se, F7Sr, F7z, F7000, F7400
F8 series: F8Dc, F8P, F8Sa, F8Sg, F8Sn, F8Sp, F8Sr, F8Sv, F8Tr, F8Va, F8Vr
F50 series: F50Sf-A1, F50Sf-A2, F50SV-A1, F50SV-A2, F50SV-X4C
F80 series: F80Cr, F80L, F80Q, F80S, F80
F81 series: F81Se F9 series: F9Dc, F9S, F9Sg
K40 series: K40AB, K40C, K40IJ, K40IJ-A1, K40IN, K40IN-A1, K40IN-B1
K50 series: K50AB, K50IJ, K50IN, K50IJ-A1, K50IJ-B1, K50IJ-C1, K50IJ-RX05
L3 series: L3, L3000, L3000C, L3000D, L3000H, L3000S, L3000Tp, L31, L3100, L32, L3200, L34, L3400, L35, L3500, L3800, L3C, L3D, L3H, L3S, L3Tp
L5 series: L5, L5000, L5000C, L5000D, L5000DF, L5000G, L5000GA, L5000GM, L5000GX, L5500C, L5500D, L5500DF, L5500G, L5500GA, L5500GM, L5500GX, L55C, L55D, L55DF, L55G, L55GA, L55GM, L55GX, L5800, L5800C, L5800D, L5800DF, L5800G, L5800GA, L5800GM, L5800GX, L58C, L58D, L58DF, L58G, L58GA, L58GM, L58GX, L5900, L5900C, L5900D, L5900DF, L5900G, L5900GA, L5900GM, L5900GX, L59C, L59D, L59DF, L59G, L59GA, L59GM, L59GX, L5C, L5D, L5DF, L5G, L5GA, L5GM, L5GX
L8 series: L8400
M2 series: M2, M2000, M2000A, M2000C, M2000E, M2000N, M2000Ne, M2400, M2400A, M2400C, M2400E, M2400N, M2400Ne, M2422N, M2442N, M2A, M2C, M2E, M2N, M2Ne
M3 series: M3, M3000, M3000N, M3000NP, M3N, M3NP
M6 series: M6, M6000, M6000A, M6000C, M6000Ce, M6000N, M6000Na, M6000Ne, M6000R, M6000RF, M6000V, M6000Va, M67, M6700, M6700A, M6700C, M6700Ce, M6700N, M6700Na, M6700Ne, M6700R, M6700RF, M6700V, M6700Va, M6706H, M6722H, M6722R, M6742H, M6762H, M67A, M67C, M67Ce, M67N, M67Na, M67Ne, M67R, M67RF, M67V, M67Va, M68, M6800, M6800A, M6800C, M6800Ce, M6800N, M6800Na, M6800Ne, M6800R, M6800RF, M6800V, M6800Va, M6802N, M6806N, M6822N, M6842N, M6862N, M68A, M68C, M68Ce, M68N, M68Na, M68Ne, M68R, M68RF, M68V, M68Va, M6A, M6C, M6Ce, M6N, M6Na, M6Ne, M6R, M6RF, M6V, M6Va
M50 series: M50Sa, M50Sr, M50Sv, M50Vc, M50Vm, M50Vn
M51 series: M51A, M51Kr, M51Se, M51Sn, M51Sr, M51Ta, M51Tr, M51Va, M51Vr
M70 series: M70Sa, M70Sr, M70T, M70Vm, M70Vn, M70Vr
P80 series: P80Vc
S1 series: S1, S1000, S1000A, S1000B, S1000N, S13, S1300, S1300A, S1300B, S1300N, S13A, S13B, S13N, S1A, S1B, S1N
S5 series: S5, S5000, S5000A, S5000N, S5000Ne, S5000NP, S5A, S5N, S5Ne, S5NP
U3 series: U3S, U3Sg
U5 series: U5, U5A, U5F
U6 series: U6S, U6Sg, U6V, U6Vc
W3 series: W3V
W7 series: W7F, W7Fp, W7S, W7Sg
Z3 series: Z33A, Z3A
Z7 series: Z71V
Z9 series: Z9, Z90, Z9000, Z9000R, Z90R, Z91, Z9100, Z9100E, Z9100ER, Z9100G, Z9100L, Z9100N, Z91E, Z91ER, Z91G, Z91L, Z91N, Z92, Z9200, Z9200G, Z9200L, Z9200Ne, Z9200U, Z9200Va, Z92G, Z92L, Z92Ne, Z92U, Z92Va, Z93, Z9300, Z9300E, Z93E, Z99, Z9R
A1 series: A1, A1000, A2000C, A1000B, A1000D, A1000F, A11, A12, A1200, A1200-C700, A1300, A1300-P700, A1B, A1D, A1F
A2 series: A2, A2000, A2000C, A2000D, A2000G, A2000H, A2000K, A2000L, A2000S, A2000T, A2514H, A2534H, A2540H, A27, A28, A2C, A2D, A2G, A2H, A2K, A2L, A2S, A2T
A3 series: A32
A4 series: A4, A40, A4D, A4G, A4GA, A4K, A4KA, A4L, A4S
A6 series: A65
B1 series: B1, B1000, B1000A, B12, B1A
F7 series: F74, F7000, F7400, F7400B, F74B, F7B
L1 series: L1, L1000, 1000A, L1000B, L1400, L1A, L1B
L2 series: L2, L2400B L2400G, L2400E, L2B, L2D, L2E
L3 series: L3, L3000, L3000C, L3000D, L3000H, L3000S, L3000Tp, L31, L3100, L32, L3200, L34, L3400, L35, L3500, L3800, L3C, L3D, L3H, L3S, L3Tp
L4 series: L4, L4000, L4000E, L4000H, L4000L, L4000R, L41, L42, L44, L45, L4E, L4H, L4L, L4R
L7 series: L7, L7000, L7000B, L7000C, L7000D, L7000E, L7000G, L7000H, L7200, L7300, L7B, L7C, L7D, L7E, L7G, L7H
L8 series: L8, L8000, L6000B, L8000C, L8000Ce, L8000F, L8000K, L8000L, L64, L8400, L8400B, L8400C, L8400Ce, L8400F, L8400K, L8400L, L84B, L84C, L84Ce, L84F, L84K, L84L
M1 series: M1, M1000, M1000A, M1A
M2 series: M2, M2000, M2000A, M2000C, M2000E, M2000N, M2000Ne, M2A, M2C, M2E, M2N, M2Ne
M3 series: M3, M3N, M3NP
M5 series: M5, M5000, M5000Ae, M5000N, M5000NP, M500A, M500Ae, M500N, M500NP, M5200, M5200A, M5200Ae, M5200NP, M5601N, M5606N, M5622N, M5642N, M5A, ,M5Ae, M5N, M5NP
M8 series: M8, M8000, M8000B, M8000C, M8200, M8200B, M8200C, M8300, M8300B, M8300C, M8B, M8C
S1 series: S1, S1000, S1000A, S1000B, S1000N, S13, S1300, S1300A, S1300B, S1300N, S13A, S13B, S13N, S1A, S1B, S1N
S5 series: S5, S5000, S5000A, S5000N, S5000Ne, S5000NP, S5A, S5N, S5Ne, S5NP
S8 series: S8, S8000, S8000A, S82, S8200, S8200A, S82A, S86, S8600, S8600A, S86A, S8A
T9 series: T9, T9000, T9000A, T90A, T9300A, T93A, T9400A, T94A, T9A
V6 series: V6, V6000, V6000V, V6800V, V6V
W1 series: W1, W1G, W1Ga, W1Gc, W1N, W1Na, W1V
W2 series: W2, W2000, W2000V, W2V
W5 series: W5, W5A, W5Ae
W6 series: W6, W6000, W6000A, W6A
Z3 series: Z3, Z30, Z3000, Z3000N, Z30N, Z31, Z3100, Z31N, Z33, Z3300, Z33A, Z3A, Z3N
Z6 series: Z6, Z60, Z6000, Z6000A, Z6000Ae, Z6000N, Z60A, Z60Ae, Z60N, Z60NP, Z61,Z6100,Z61A, Z61Ae, Z61N, Z61NP, Z63, Z6300, Z63A, Z63Ae, Z63N, Z63NP, Z6A, Z6Ae, Z6N, Z6NP
Z7 series: Z7, Z70, Z7000, Z7000A, Z7000N Z7000Ne, Z8000V, Z70A, Z70N, Z70Ne, Z70V, Z71, Z71A, Z71N, Z71Ne, Z71V
Z9 series: Z9, Z90, Z9000, Z9000R, Z90R, Z91, Z9100, Z9100E, Z9100ER, Z9100G, Z9100L, Z9100N, Z91E, Z91ER, Z91G, Z91L, Z91N, Z92, Z9200, Z9200G, Z9200L, Z9200Ne, Z9200U, Z9200Va, Z92G, Z92L, Z92Ne, Z92U, Z92Va, Z93, Z9300, Z9300E, Z93E, Z99, Z9R
X50 X55 X58 X59 X71SL X71Vn, X80, X80Le, X80N X80Z
Design features of Chicony MSI PS42 Modern 8RC-035MY Laptop power supply unit 90W
1. Over-voltage and short-circuit protection, short-circuit protection / over-temperature protection.
2. Wide input voltage range, stable operation under 90v-265v voltage, safe for laptop.
3. PCB and protective cover are made of fireproof material.
4. When using a laptop, the ripple and noise are low.
5. High-quality raw materials.
6. High power exchange efficiency, which can control the working temperature and stabilize the work of the notebook computer.
7. Save more than 98% power (saving power means less power waste and computer efficiency).
8. Use temperature to protect NTC. Use insulating paper to isolate the electrodes. For safety, please use fireproof tape and silicone to ensure the safety of the laptop during work.
Price reference for 90W power supply
JP: ASUS 90W アダプター
ES: ASUS 90W cargador
NZ: ASUS 90W power charger
DE: ASUS 90W Ladegerät
IT: ASUS 90W caricabatterie
US: ASUS 90W adapter

Related Products:
135W AC adapter charger Acer Aspire ADP-135KB T
A1343 AC adapter charger Apple MacBook Pro 15inch 17inch
ADP-90YD_B AC adapter charger Asus EXA0904YH R32379 N53S N55S
4GJV9 Power Supply unit Dell Vostro 3268 SFF
FSP180-50PLA Power Supply unit PC Desktop computer Power Supply 220w
W18-015N1C AC adapter charger Google Home Hub power supply 14v charger
445102-002 Power Supply unit HP RP5000 RP5700 PS-6241-02HD
0957-2271 AC adapter charger HP Officejet 7000 6000 6500 AC Printer Adapter
10.5V/5V AC adapter charger Sony Vaio Duo 13 SVP13213CGB SVP13213CGS Ultrabook
ACDP-100D01 AC adapter charger Sony Vaio PCGA AC19V4 ACDP-100D01